How to make a scrunchie headband the disco glitter version
I have seen this trend with the scrunchie headband several places and I decided to give it a go myself and film the process for a YouTube video. Fun thing that happened was that one of the cameras just focused on the microphone because I did not get it out of shot, so that video is quite simple now. But you can still check it out here if you want to see it and not just read it.
What you need to make a scrunchie headband
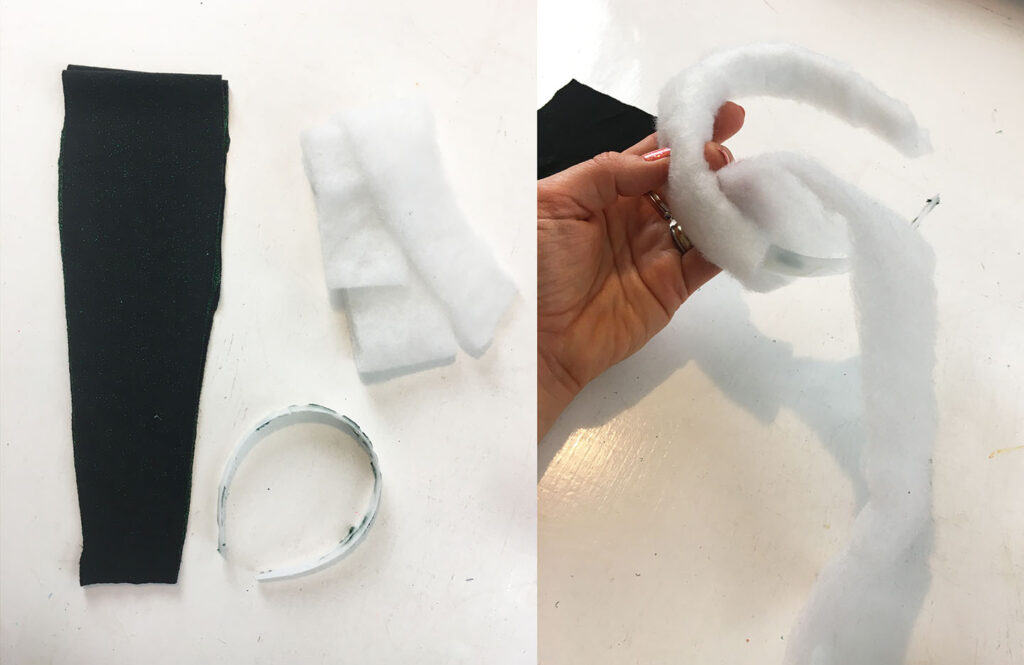
I used :
- an old plastic head band that was left over from a different project that did not work out.
- Some padding left over from a quilted jacket.
- Green glitter fabric
- Sewing kit
How to make the scrunchie headband
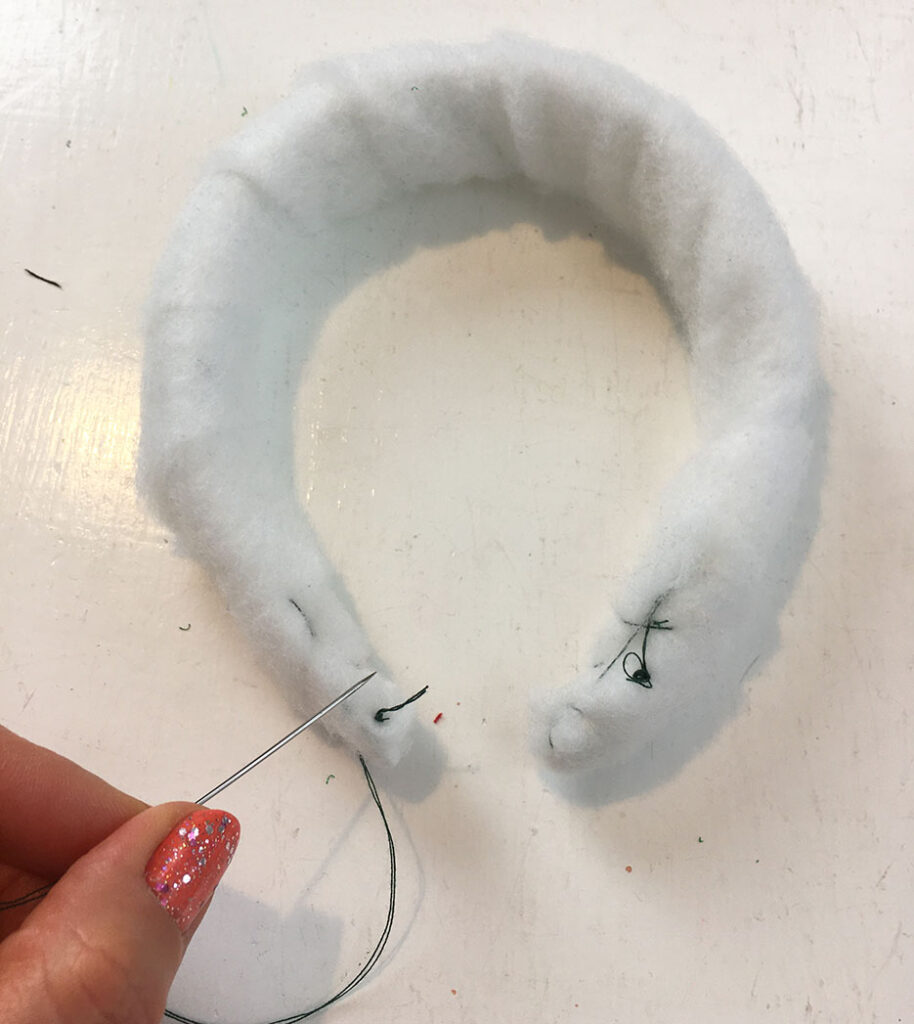
First I tied the padding around the headband. That was necessary to give it some padding and make it a bit thicker, but it also made it really comfortable to wear. And sometimes head bands can be a bit sharp around the edges, so it actually made it really nice.
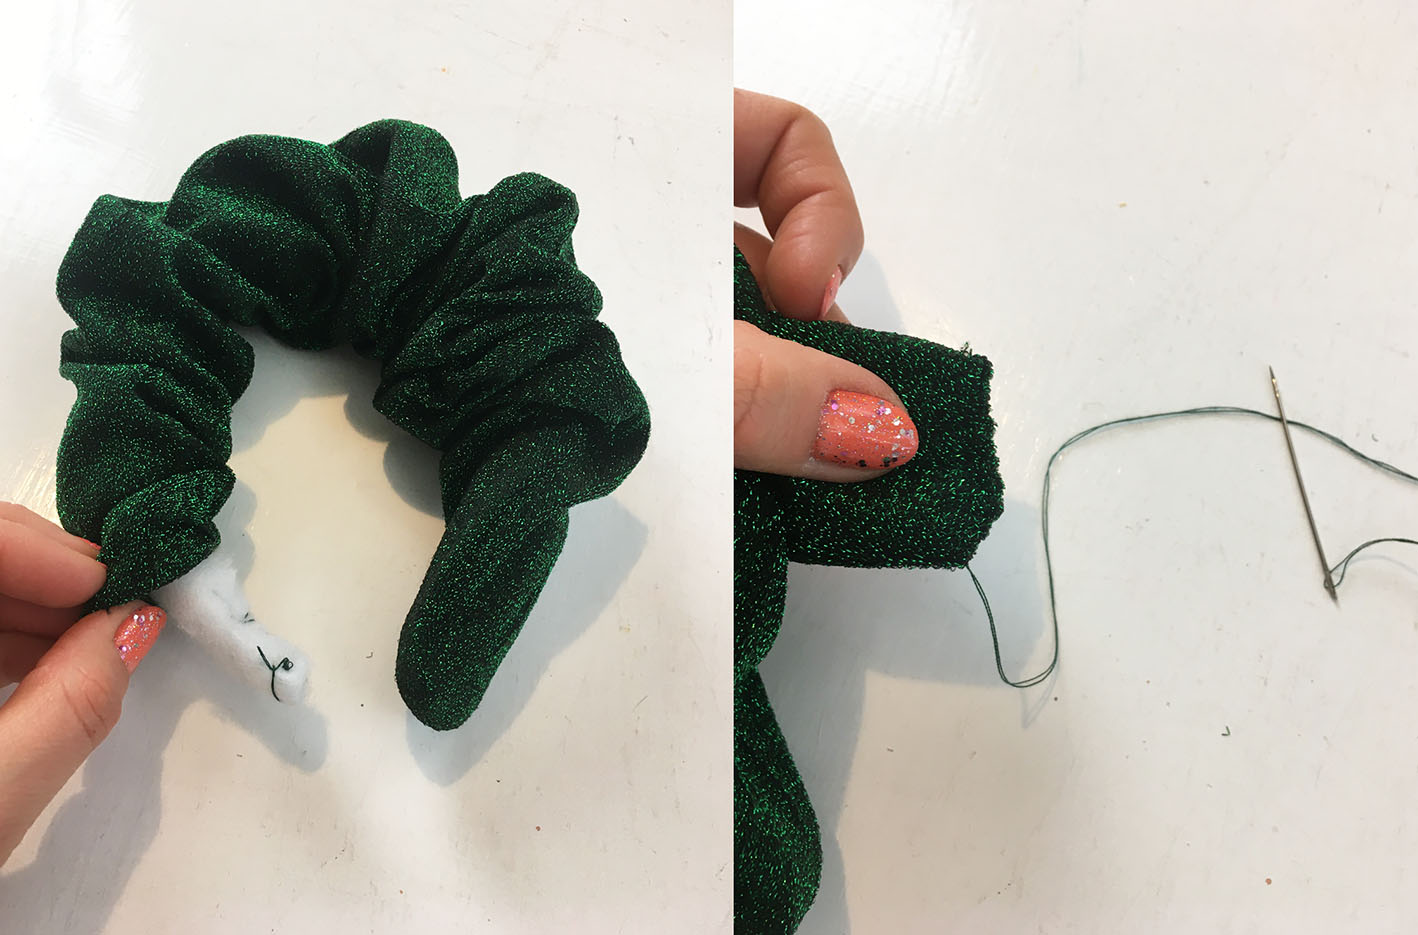
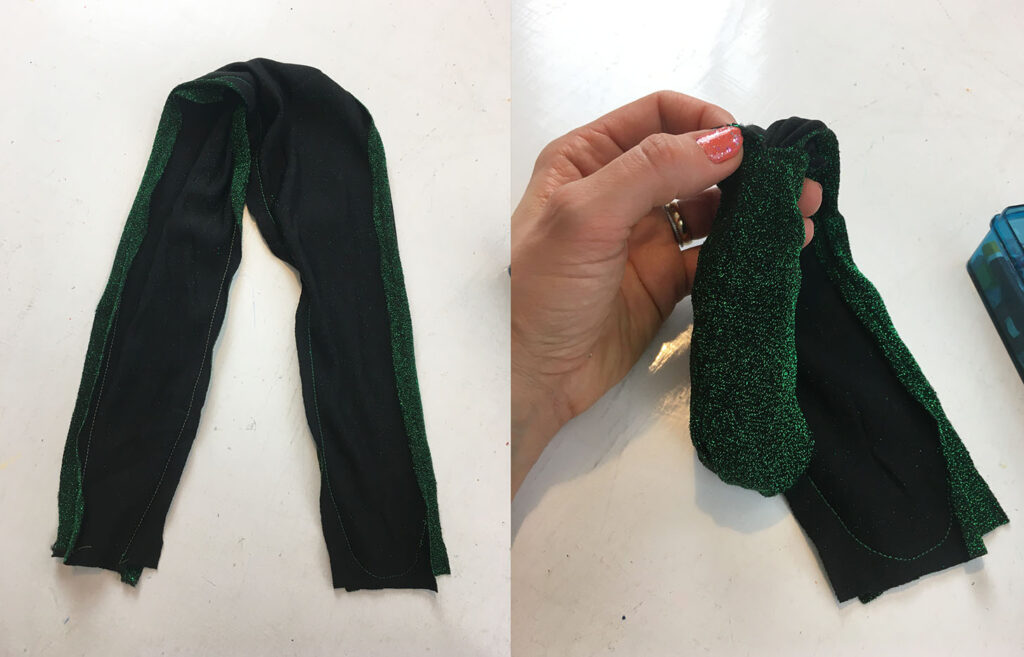
Then I sewed a long tube of the green glitter fabric to cover the padded head band with. The tube only needs to be open in one end, then you can put the head band through there.
I hand stitched the open end closed. Then I stitched the ends of the tube on to the end of the padded headband. And to keep the rest of the scrunchie in place I also stitched the fabric onto the padding. Those stitched are impossible to see when you chose a color thread that matches the fabric. All the many scrunchies will hide it, but it is a good idea to keep the crunches in place that way.



Scrunchies are great
And I have made a lot of scrunchies, my favorite is this tulle pompom one. But my hair is not that long, so I do not use them as much, while this will get used loads more for sure. And I will be making some more now that I have tried making one.
Any old head band will work, so it is also a good way to re-use old things.
I hope you will be inspired to make one too.
