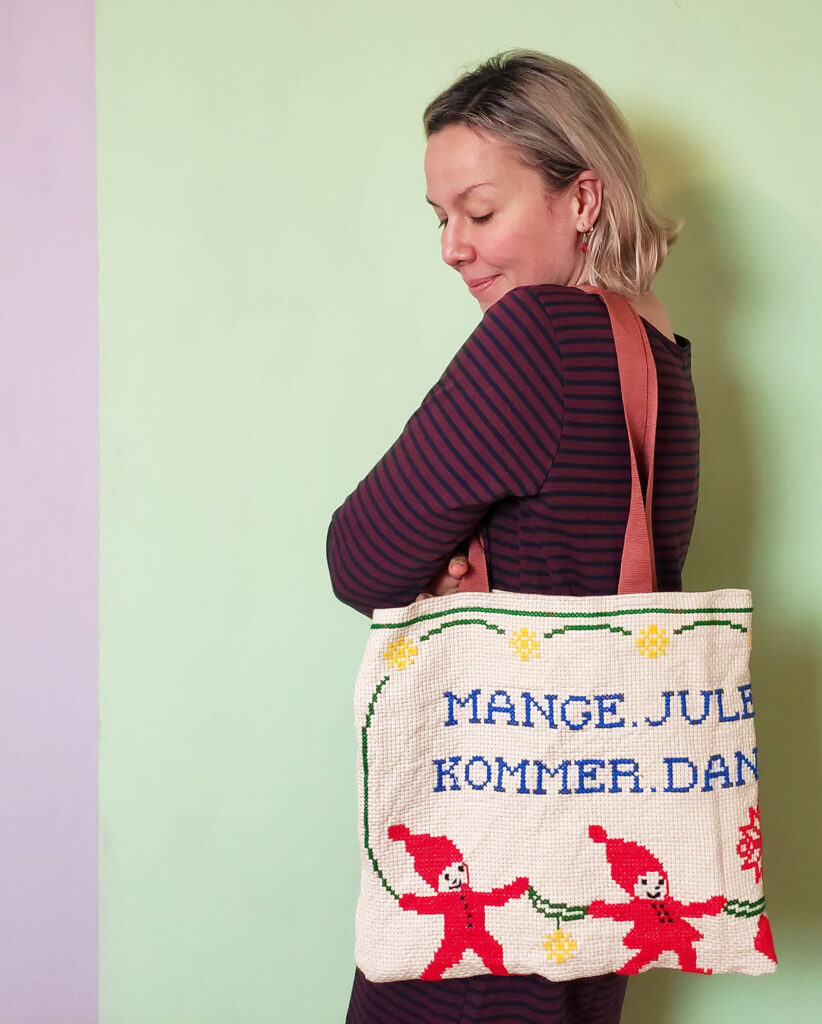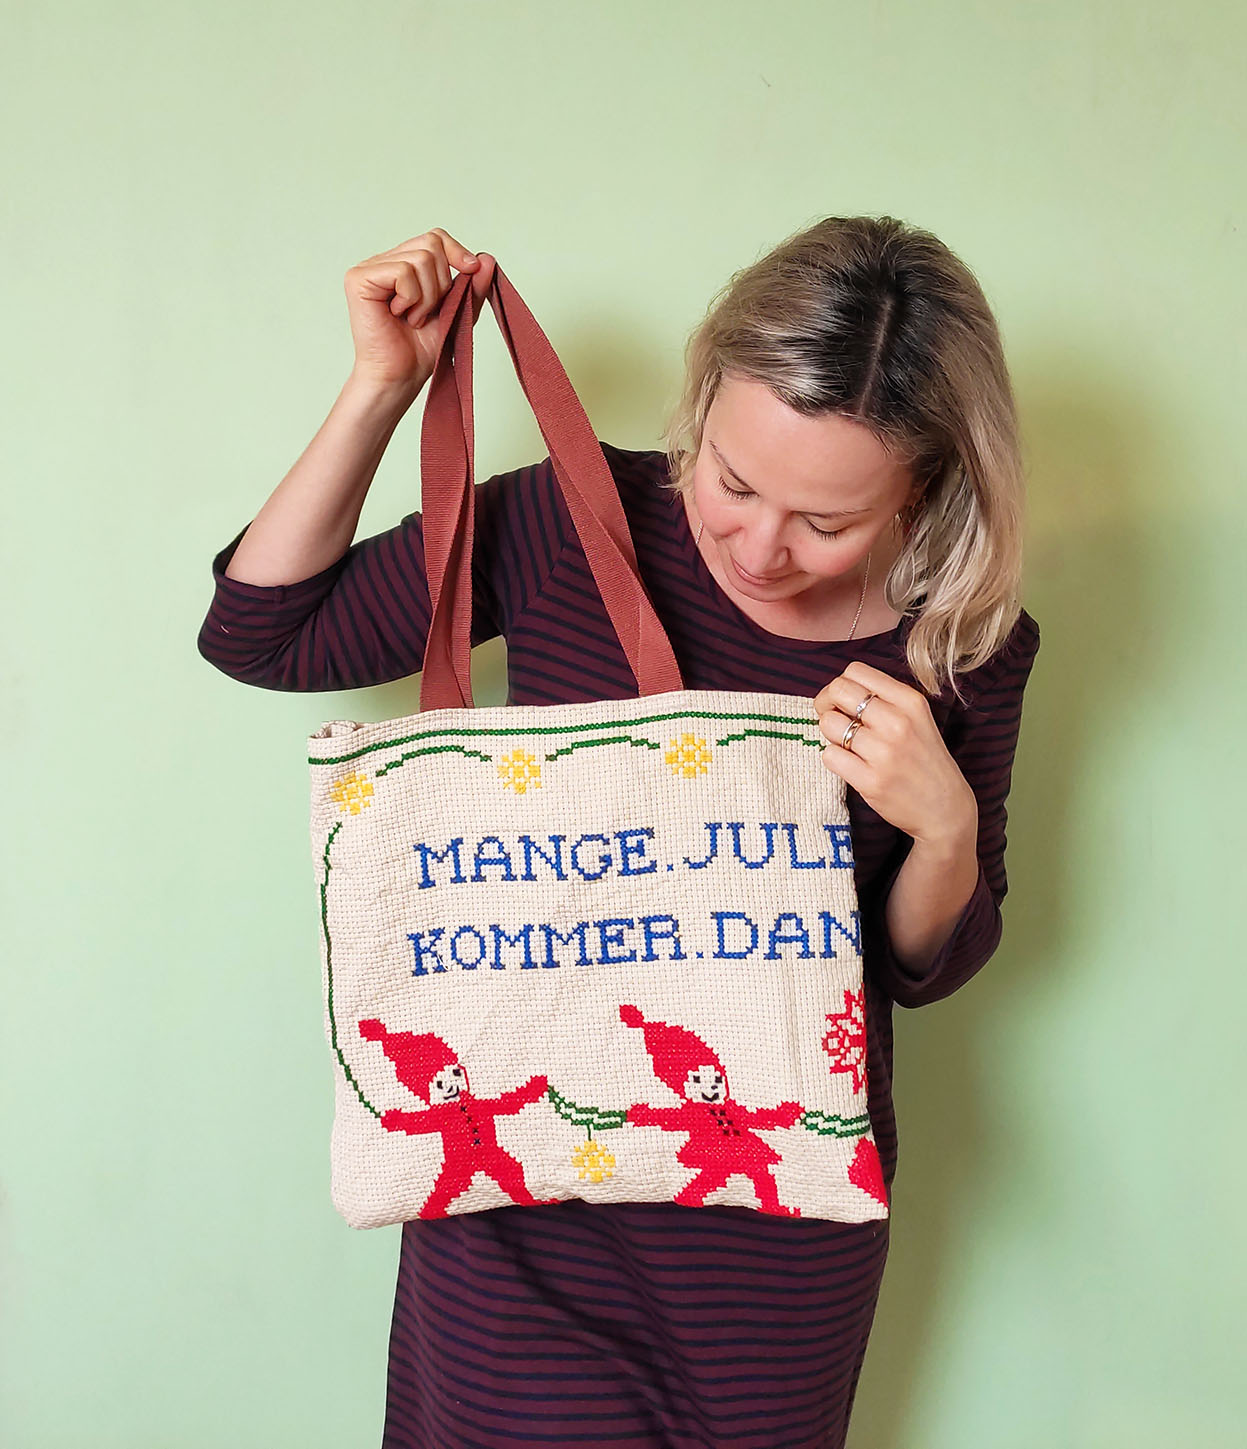
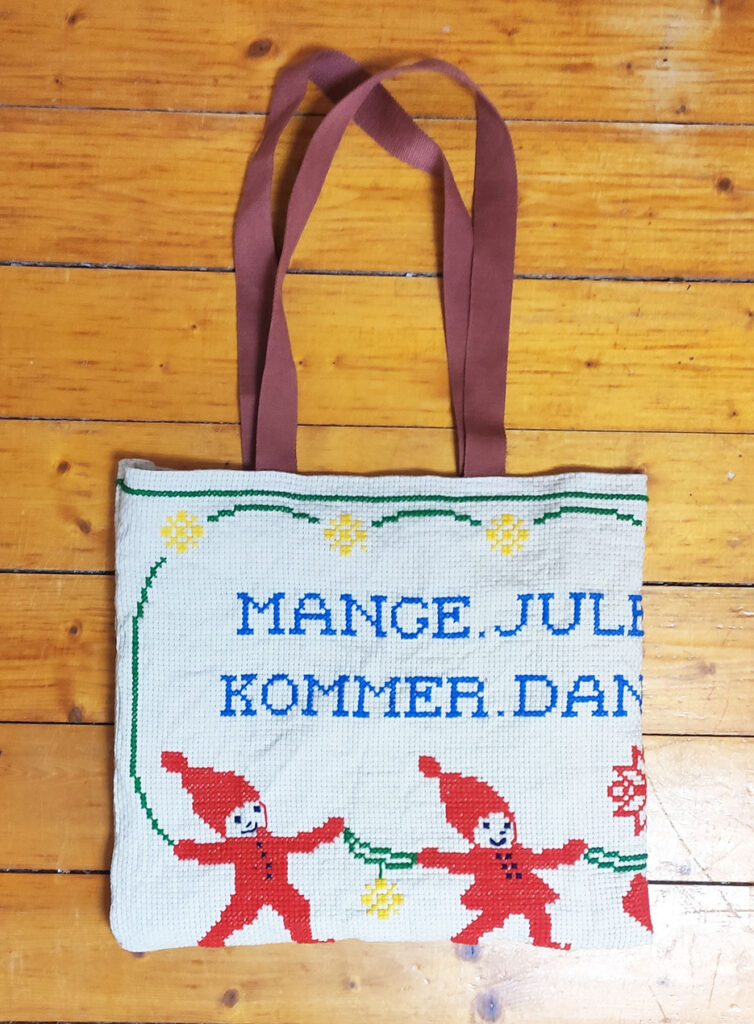
Retro cross stitch bag DIY – a sewing project in very few steps
I have just put up a youtube video about this super speedy retro cross stitch bag DIY project, and as you can tell from the length of the video, it is a very quick make. And I am sure, you can do it too!
I was also lucky that the cross stitch piece was so perfectly ready for being turned into a shopper bag. Nothing needed to be done to it.
I found it in a thrift shop and I instantly fell in love with the retro look and Christmassy feel and the little dancing elves. I just knew it could be a great bag.
Perhaps you have found something similar? Or a smaller piece perhaps, that can be added to other pieces of fabric to make the bag.
How to make the bag
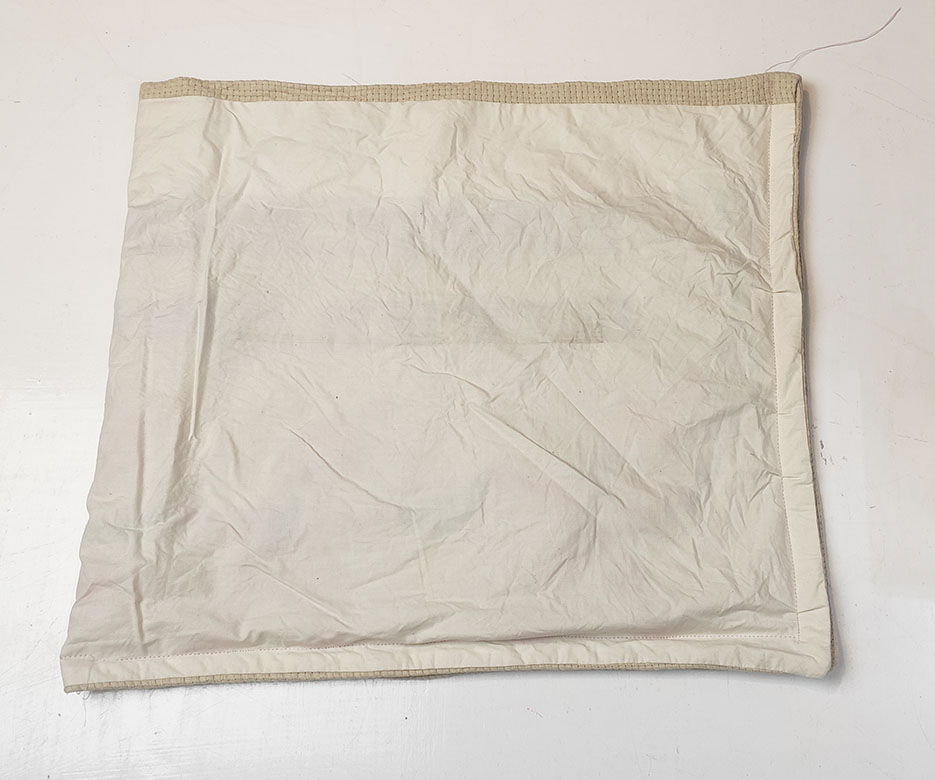
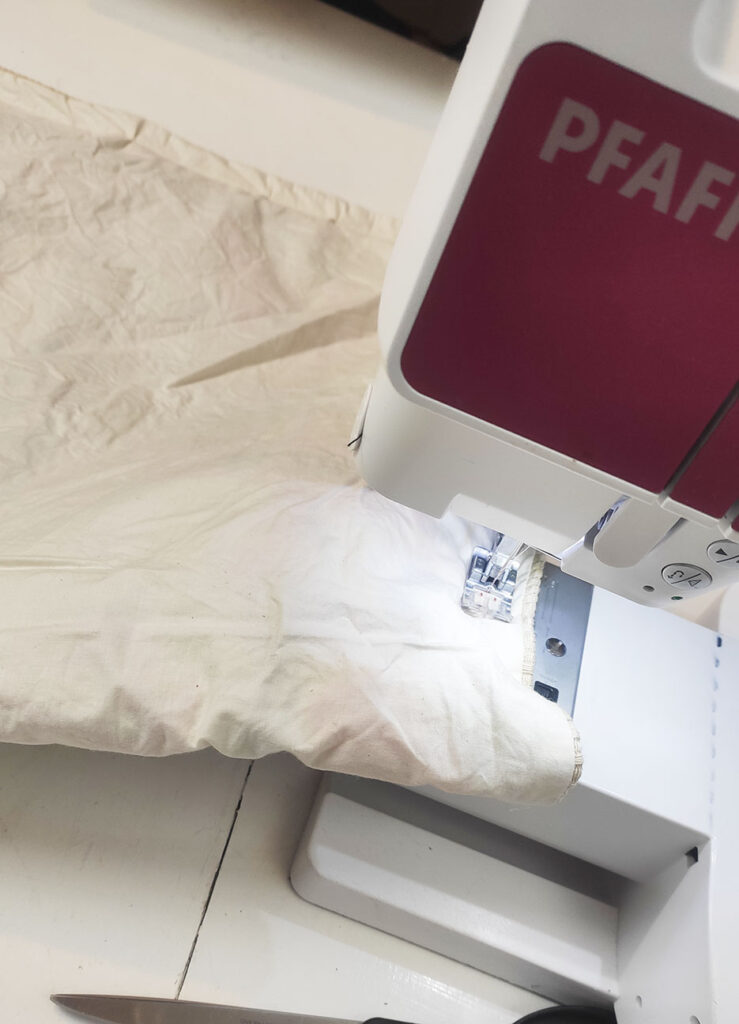
To mke the retro cross stitch bag I folded the cross stitch piece and stitched it together on the wrong side along the side and at the bottom. Be careful if there are many layers you need to sew through. It can be hard on your sewing machine.
Then it is time for the straps. Measure on your shoulder how long you want them to be before you cut, and then make sure you cut two straps of the same length. Give them a zigzag stitch so the ends do not fray.
Sticth them onto the back on the wrong side of the fabric. Make sure both straps are placed similarly on both sides of the bag.

What else can you make with these cross stitch pieces?
There are so many of them around in thrift shops. Many of them, if not almost all of them, have so much time and love put into their making. And it is a shame to just throw them away.
I have seen them used for many things, and I have a lot saved in my stash for making Christmas decorations, more bags, pillows, pouffe covers, and so much more. You can always check out pinterest for creative inspiration, also when it comes to retro cross stitch pieces.
For other upcycling projects on my blog you can always check out one of my many scarf refashioning tutorials.
Please comment on this post if you have made anything cool you would like me to see.
