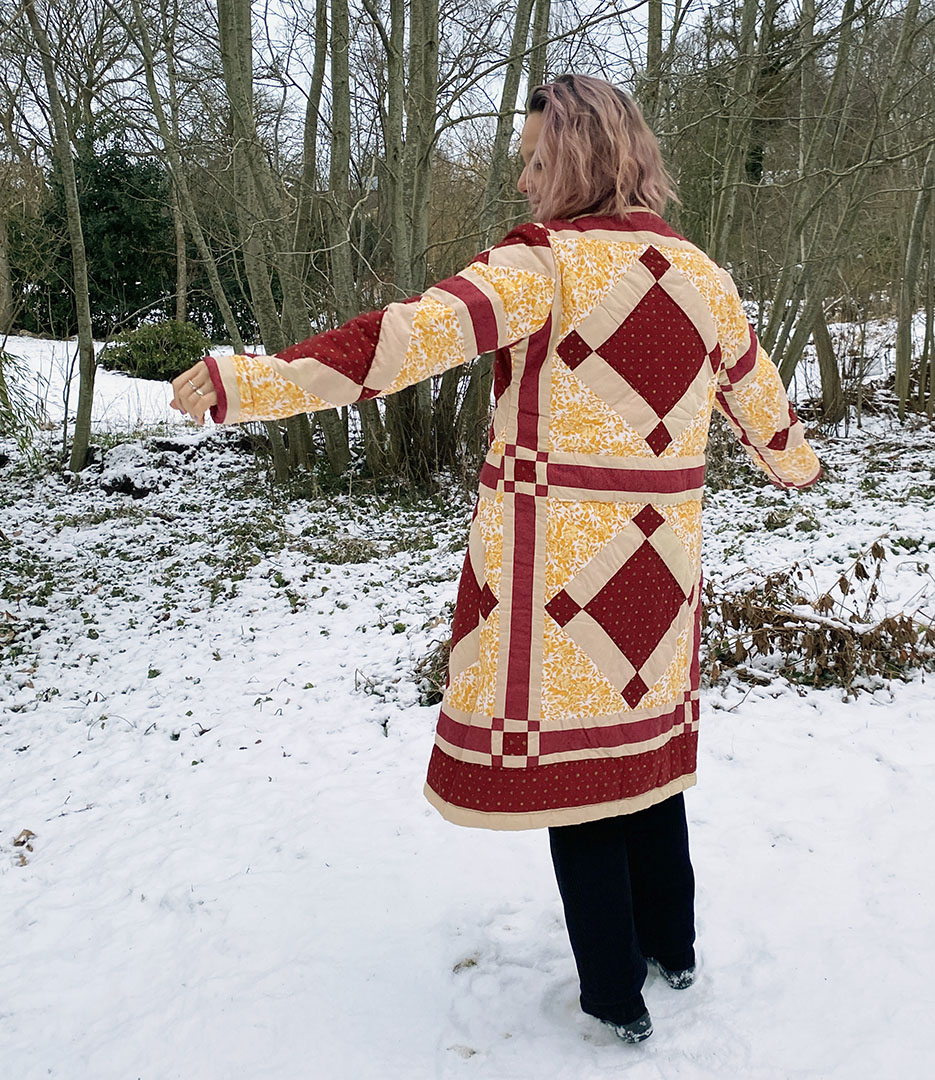

The super trendy amazing upcycled patchwork quilt coat diy – you know you want to make it
It is everywhere right now – the upcycled patchwork quilt coat diy – at least on my Instagram and Pinterest feed it is. The upcycled patchwork quilt coat diy. And I do love it. It is so cool. For the longest time I have been wanting to make one. But the thing is, it takes a quilt. Either one you make yourself or gifted to you by your nan or someone crafty and skilled. So quilts are precious – both in time and materials.
Here is the tutorial – and you can also see the video on youtube here. If you want to see more crazu coats by me, check here.
I did wash this after buying it, and the red colors bled a bit – but hey it just looks like tie dye, right?
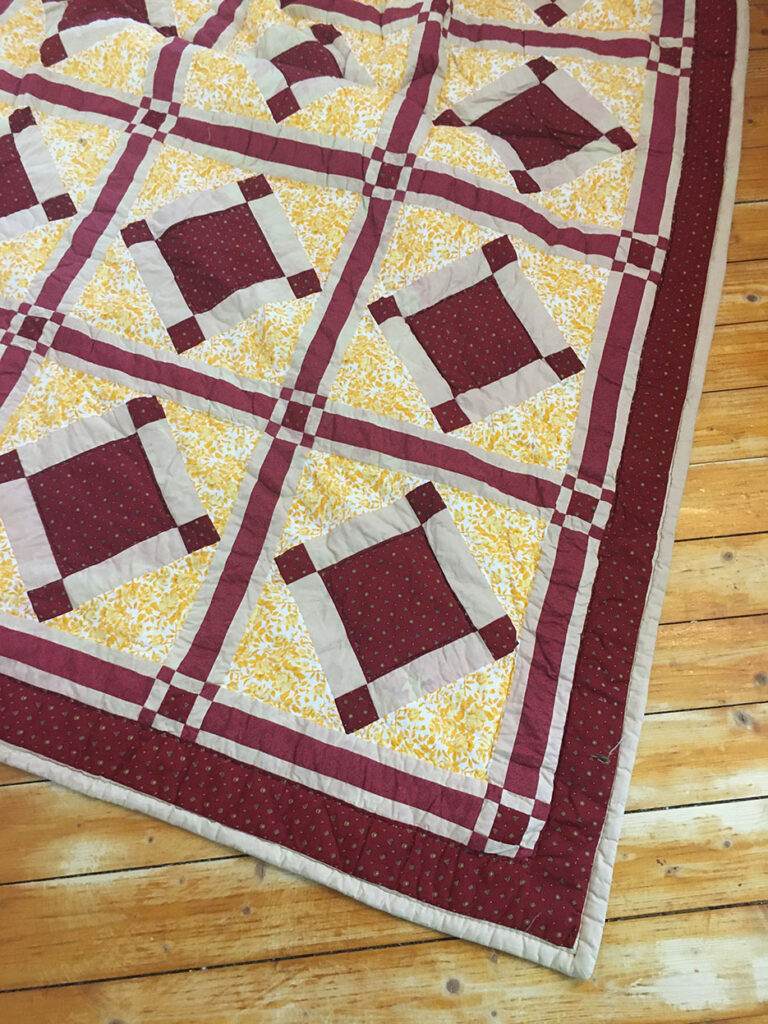
What you need to make it – a patchwork quilt
I have made several quilts, but none that have the exact look I wanted for this coat, and since I love to buy used I searched a lot of places. I was lucky enough to find the one used for the project on facebook marketplace. Feel ashamed to say what I paid, because it was way too cheap considering how pretty it is. How many hours and love that went in to it. That is amazing to think of. At least I am simply happy to know that I am giving it some love again.
The pattern for the upcycled patchwork quilt coat diy
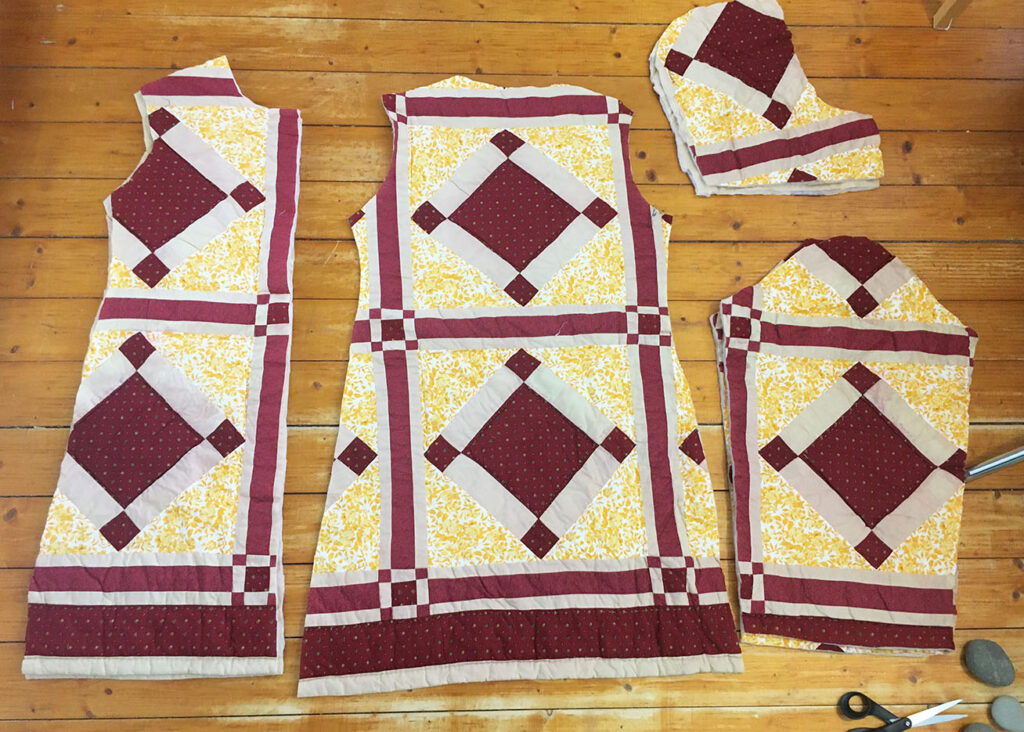
Normally I do a lot of clothes making just by putting a piece of clothing on some fabric, but for this upcycled patchwork quilt coat diy I actually had a pattern I wanted to try. Or perhaps not so much a pattern as a cut up old raincoat. It was no longer waterproof but I liked the fit, so I cut it up to use it as a pattern. It was quite fitted and I could have made it a bit wider. I did make it a bit longer, and I also cut out pieces for the hood but ended not using those pieces.
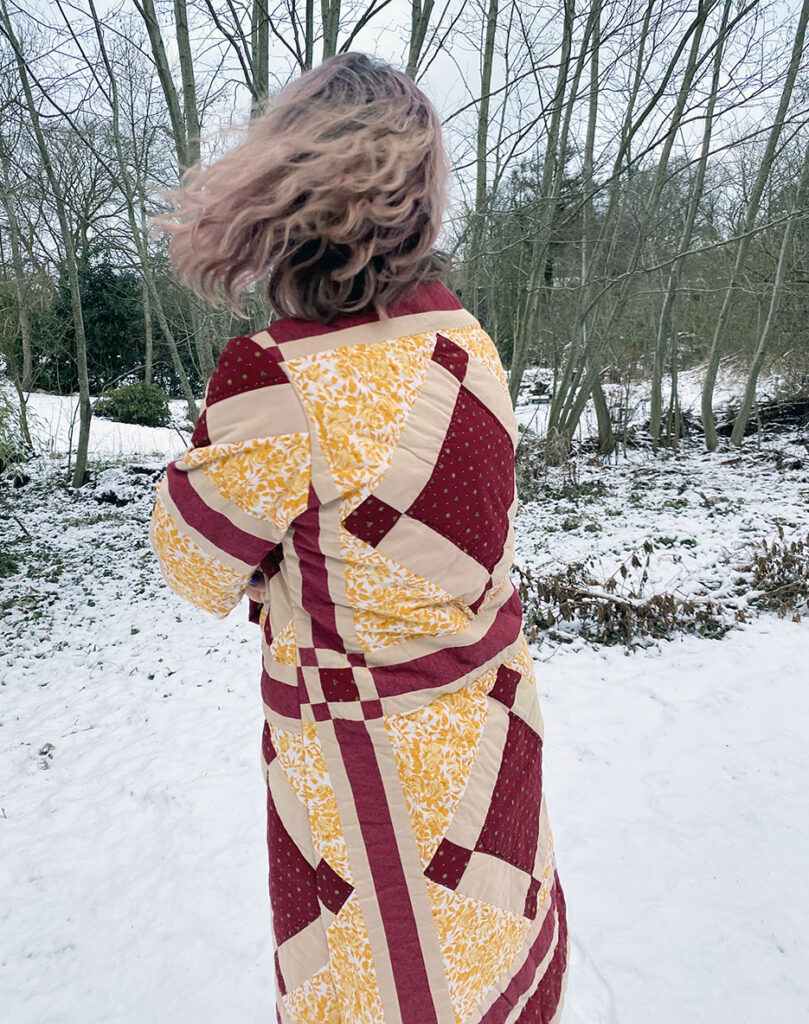
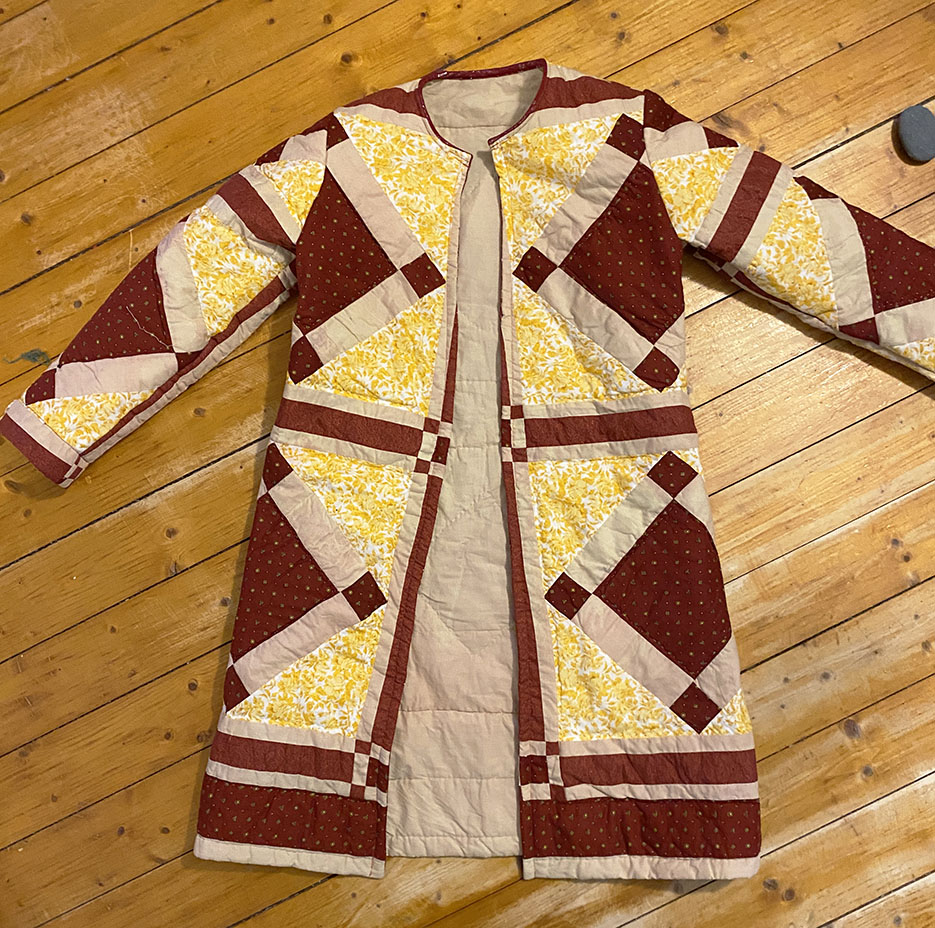
I placed the pattern pieces very carefully on the quilt thinking a lot about the placement of the quilt pattern using the border of the quilt for the bottom of the coat. And it did turn out well.
I then cut the pieces giving it a couple of cm for seam allowance. Super simple.

Sewing the coat
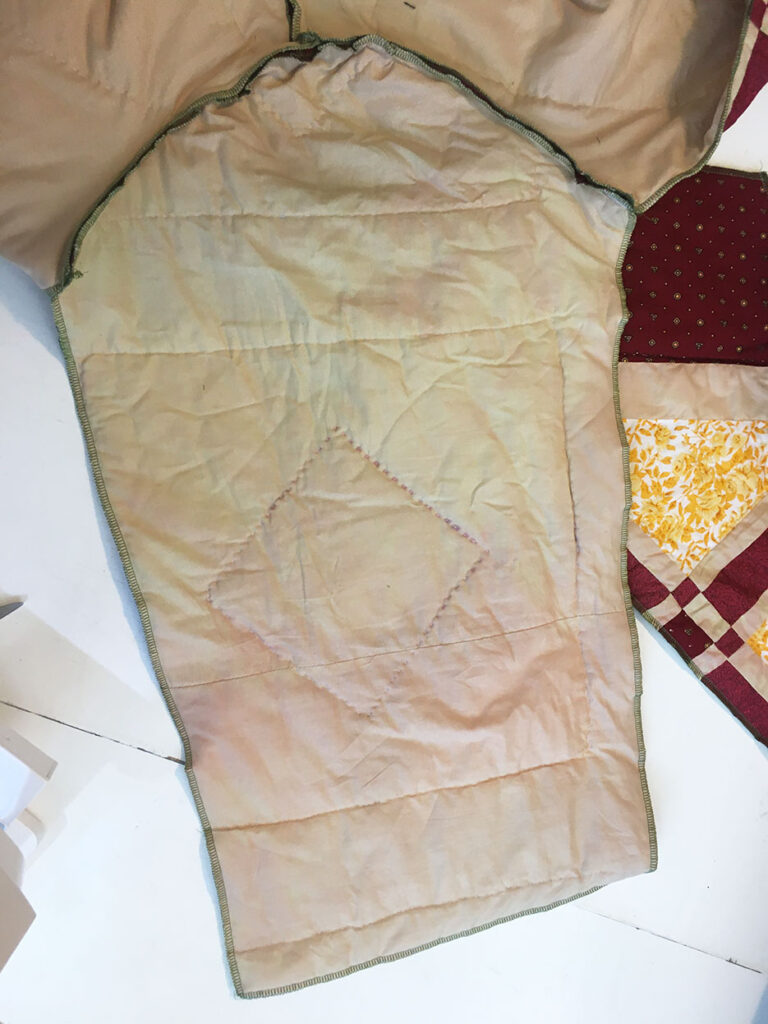
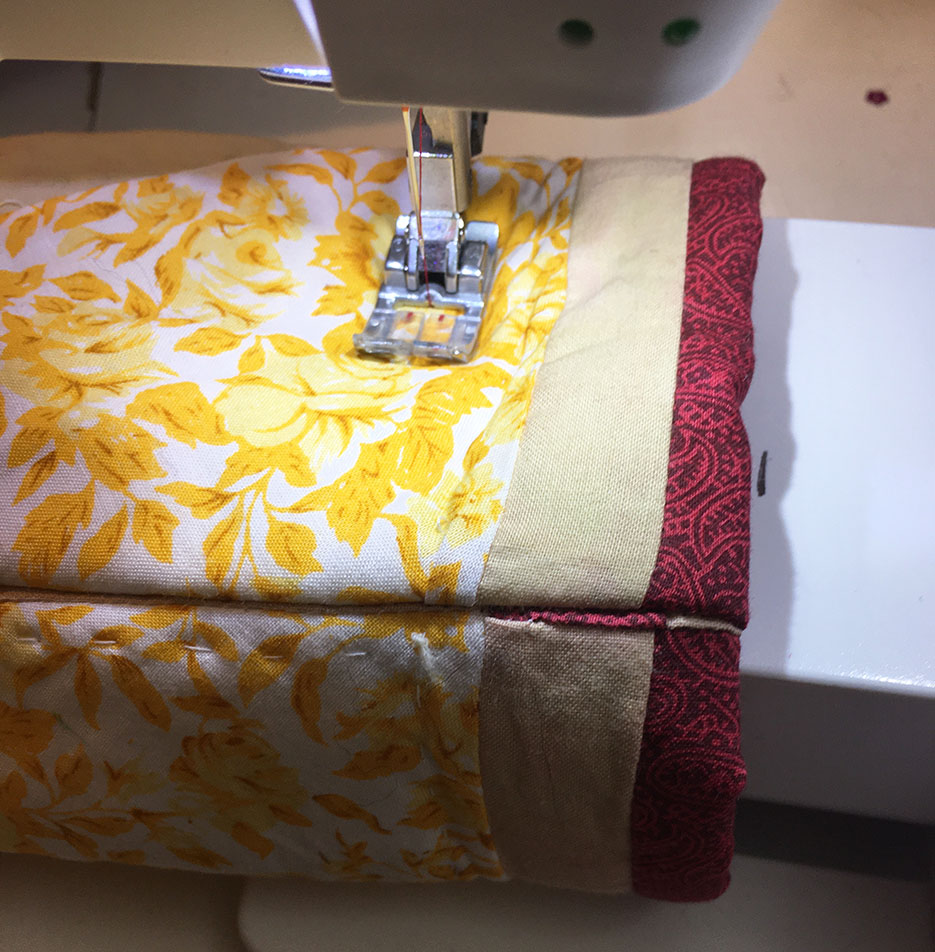
I used my serger on all the pattern pieces before sewing them together. first the shoulder seams. Then the sleeves. Then from the point under the arms going down, making sure the bottom pieces fit – and they did. Then the last bit of the sleeves from under the arm to the sleeve opening.
Then there was a coat!
I hemmed the sleeve openings normally at a length that seemed good. Then used a bias tape all the was around the opening. I am still not quite sure how to close it – I guess I need to find some nice buttons that look great.


Done!
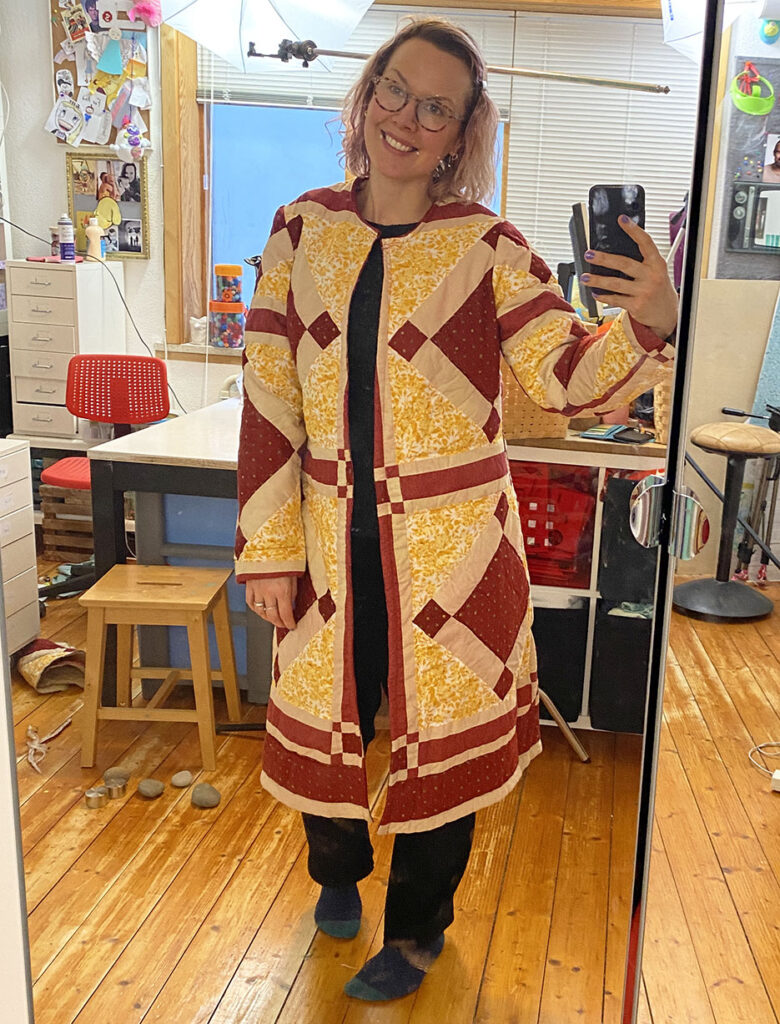
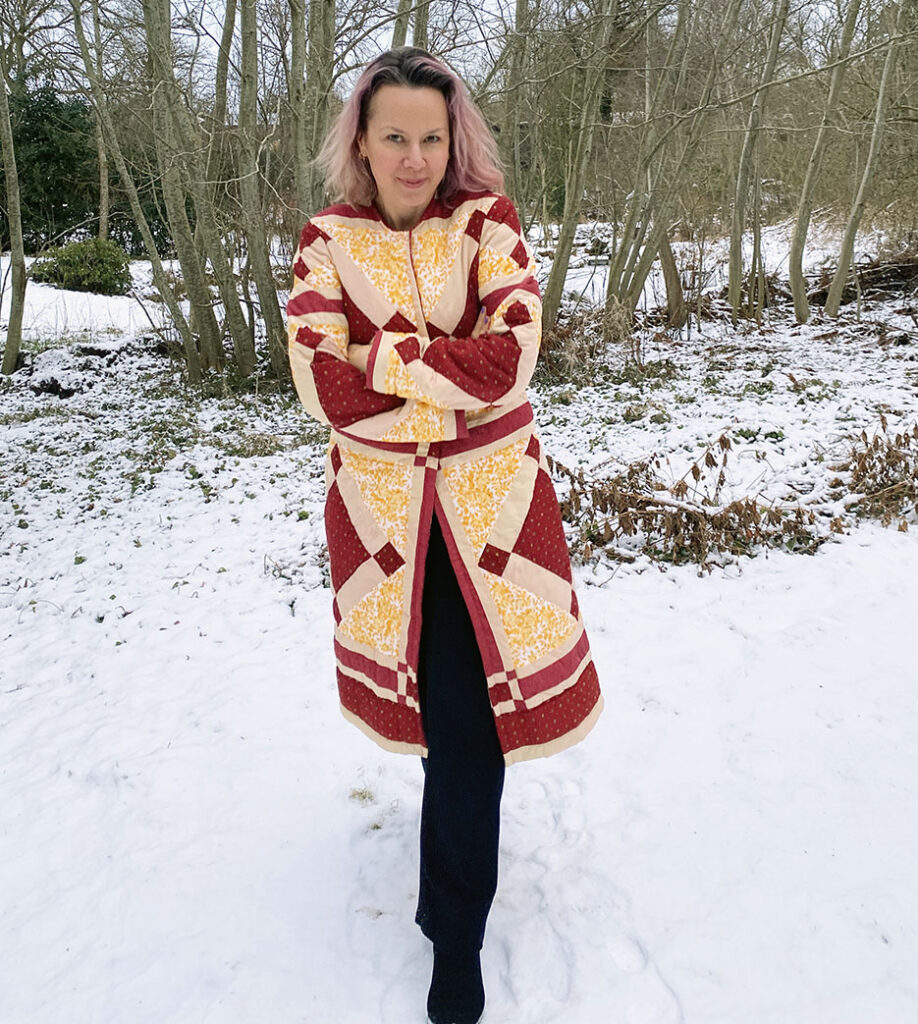
I am so happy with this coat. It is pretty, quite fitted and I love that it is giving a quilt a new life reborn as a coat.
Please let me know if you make something like this, I would love to see it.
Happy making!