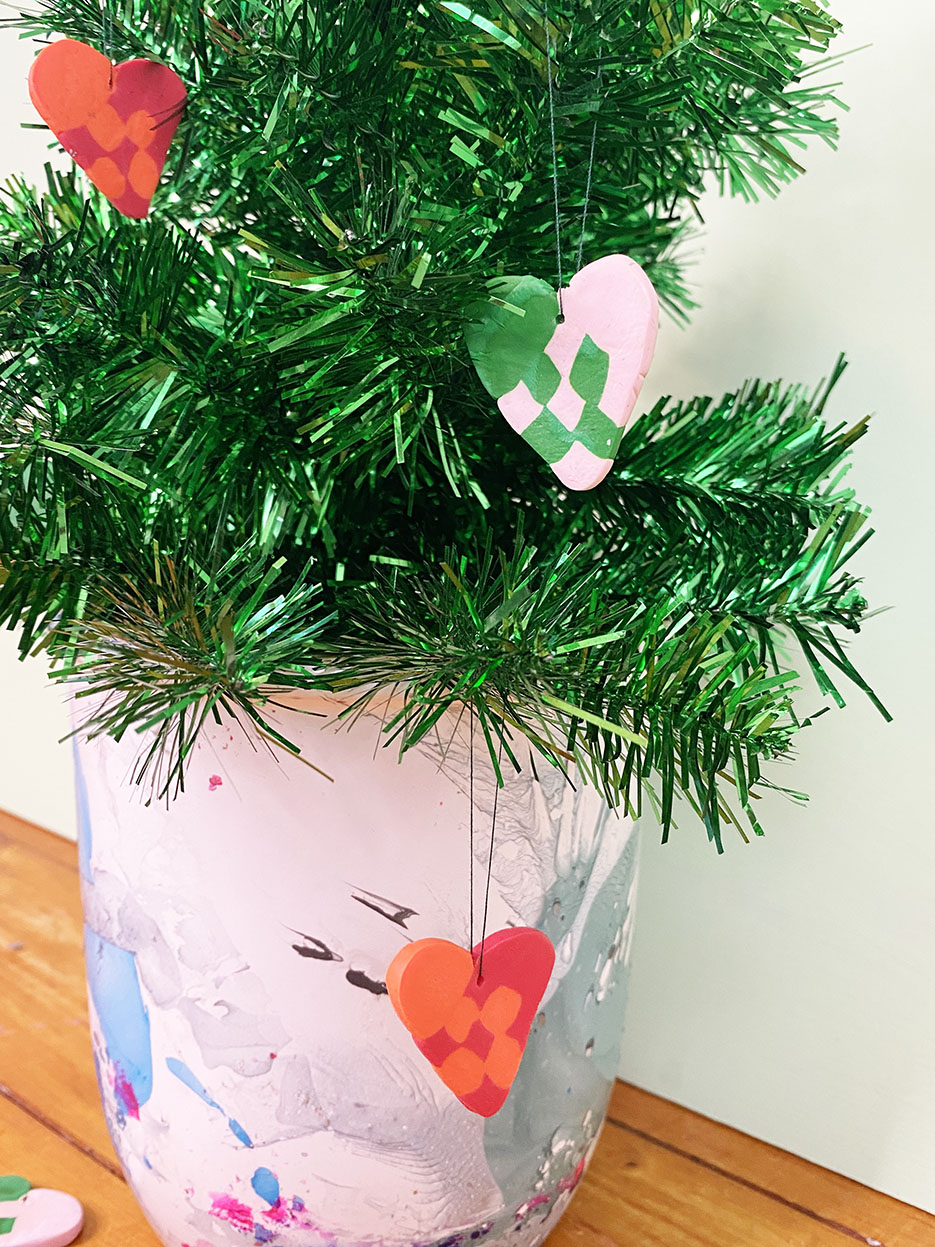
Polymer clay Christmas hearts DIY – just in time for the Holidays
This project of making Polymer clay Christmas hearts has been on my to do list for quite some time. I had a nice afternoon with my youngest a day where she was off from school and I could turn off the work computer early. We were talking about what to do, and decided to make polymer clay, since it normally takes quite some time, so it was nice to have the time to do it. We did not have a plan for everything, I just knew I wanted to try and see if this idea worked out. And luckily it did. You can see the whole YouTube video of it here.


What to remember when making the Christmas hearts
I used both Fimo for this as well as some no-brand polymer clay I had in my craft drawers. It worked fine mixing them. They are always hard to kneed and soften up, so it takes some just warming it up in your hands. Last time we did it was in summer, and we had it in the windowsill half an hour before, and that helped a lot. But not in winter. It was hard and cold.


How to shape the Polymer clay Christmas hearts
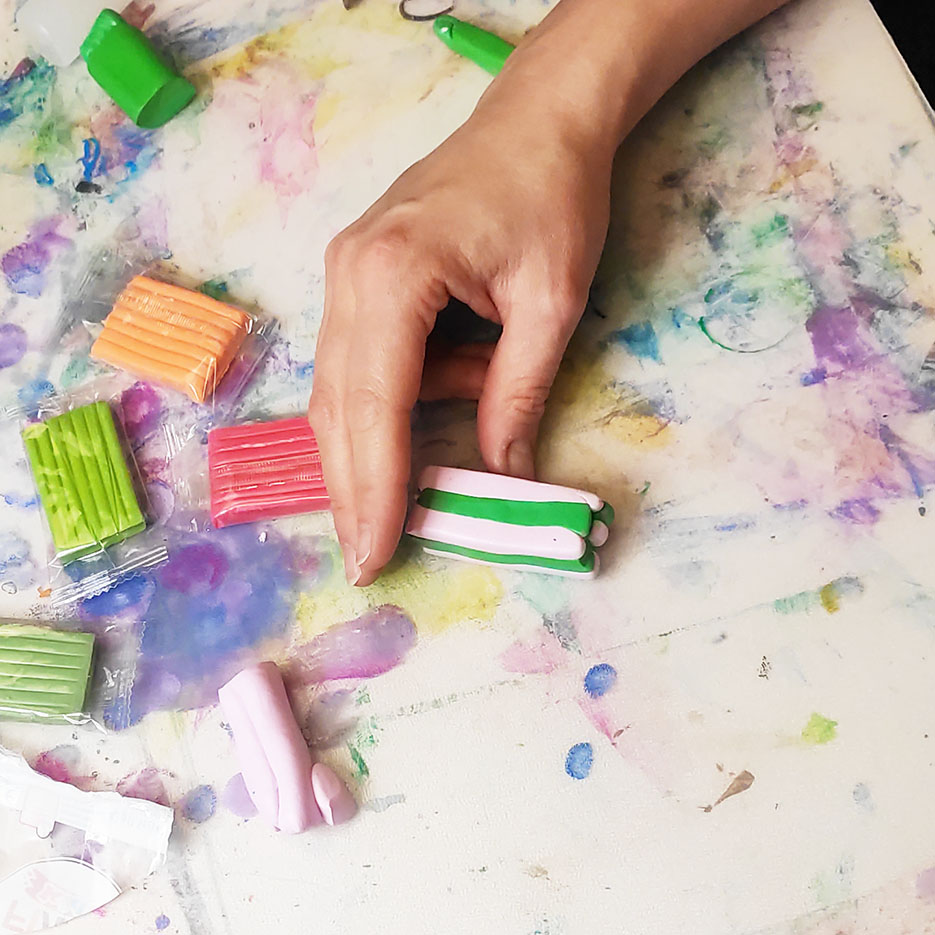
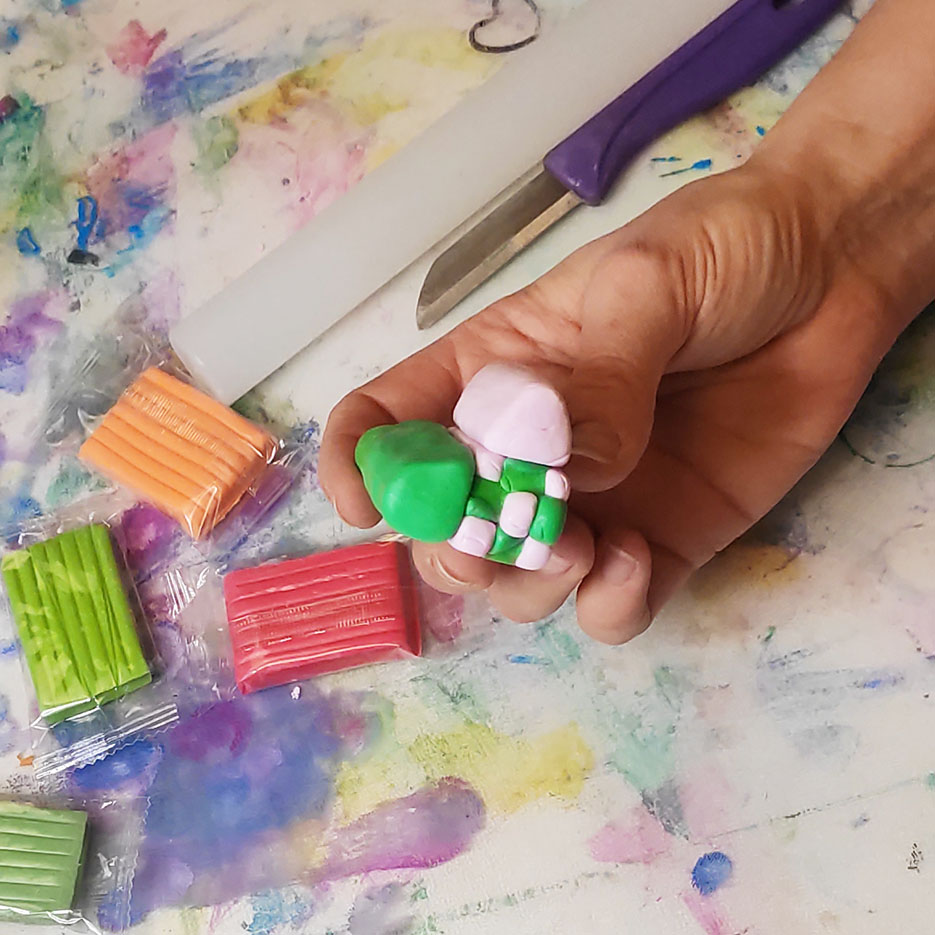
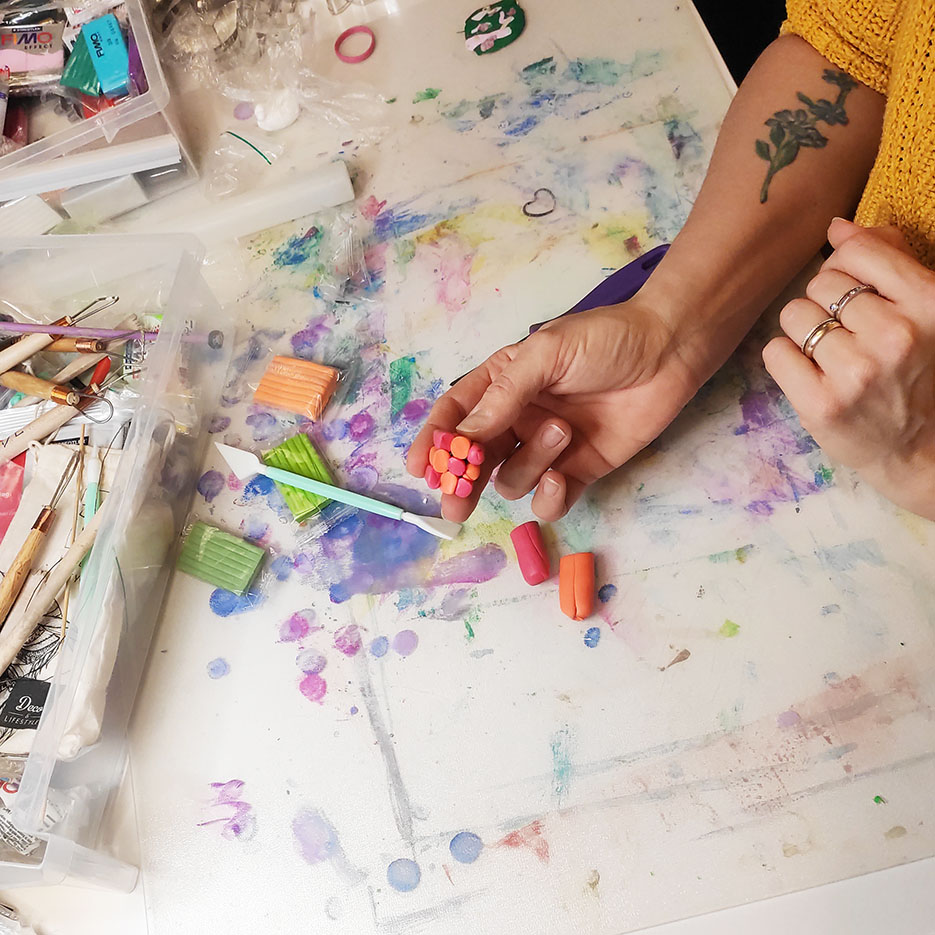
I found two colors that I would like to use and separated each of them in two. With half of the amount I made four little rectangles of one of the colors and five of the other. the heart should consist of nine squares when cut through. I tried making all nine approximately the same size. That was ha bit hard. Then I had the other halves of the colors left over. With them I made a piece as long as the rectangles but flat on one side and a half circle on the other side. The small rectangles were placed in rows of three alternating colors each time. Then another row of three on top of that, and on top of that. That made it look like a cube of 3 x 3 squares from the front. The flat and curved rectangle then went on the sides of the 3 x 3 piece to create the heart shape.
Cutting the Polymer clay Christmas hearts
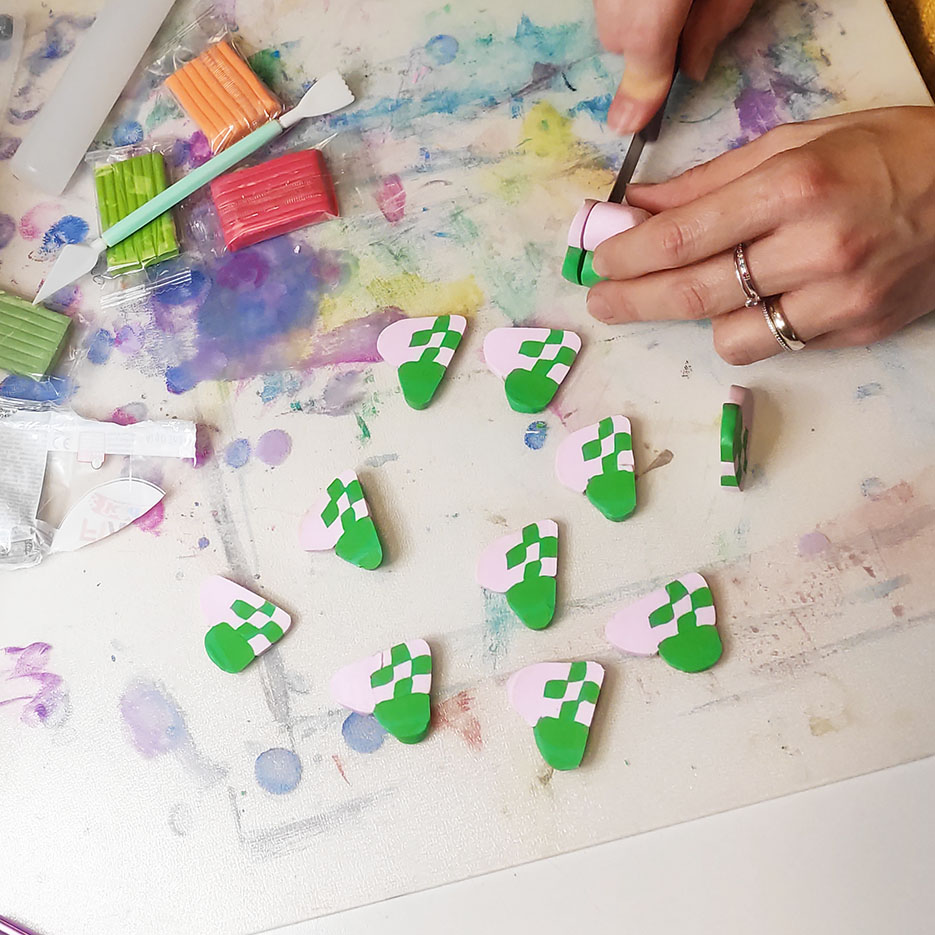
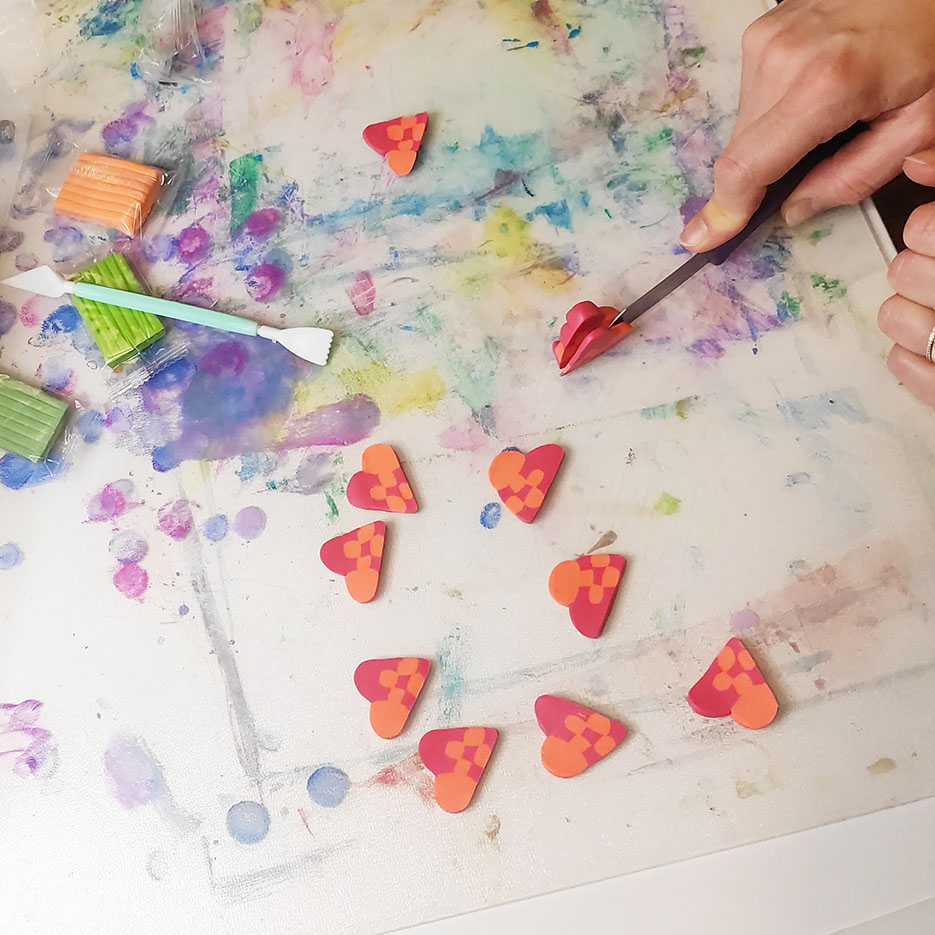
I was incredibly careful shaping the long heart shape, trying to smooth it without smushing it, and then it was ready to cut. And wow. That was absolutely awesome. The hearts came out so beautiful and I was very happy. I made a little hole with a pin to put a piece of jewelry wire through before I got it ready to go on the baking tray to put it in the oven.

Important for your oven
I followed the instructions clearly but still I hate baking polymer clay in the oven. The smell is very much like burnt plastic, which I guess it also is. So be sure to open some windows to get some fresh air in while and after you bake it. And air out your oven thoroughly before you plan to make food in it. You do not want your fresh rolls tasting like polymer clay smells like.
That is the only downside with that – apart from that I totally love working with it. I just need and outside polymer clay oven just for that.
I have made some polymer clay a couple of years ago, you can see that post here.


